
28 Sep How to Build a Modern Shipping Container Home Step by Step
Table of Contents
You can build a shipping container home by following easy steps. First, plan your design. Next, get permits. Then, set your budget. After that, prepare the site. Start construction. Install utilities. Finish the inside. Finally, move in. People like building container homes because they cost less. They go up fast. You can change every part to fit your style. Here are some benefits of shipping container homes:
They give you a blank canvas for your tiny home ideas.
Modular construction means quick assembly and less waste.
Buying a shipping container is cheap, especially for tiny housing.
Corten steel makes these homes strong and last long.
Stay aware of legal rules and costs. If you follow each step carefully, building a shipping container home gets much easier.
Key Takeaways
Begin with a good plan. Pick your design, budget, and needs before you start building.
Look at local rules. Learn about zoning laws and building codes. This helps you avoid delays and extra costs.
Pick the best foundation. A strong foundation keeps your container home safe. It also keeps it level for a long time.
Insulate the home well. Good insulation keeps the temperature comfortable. It also lowers energy bills.
Make smart design choices. Use furniture that does more than one thing. Open layouts help you use space better in your container home.
Steps to Build a Shipping Container Home
Plan and Design
Planning is the first and most important step when you want to build a shipping container home. You get to decide how your home will look and feel. Start by thinking about your needs and lifestyle. Do you want a tiny home for simple living, or do you need more space for a family?
Here’s a simple way to plan your container home:
Choose the right container size and type. Standard sizes are 20-foot and 40-foot containers.
Set your budget early. This helps you avoid surprises later.
List your must-haves. Maybe you want a big kitchen or lots of storage.
Think about storage. Use creative solutions to keep your space tidy.
Design multipurpose areas. A living room can double as a guest room.
Check local rules and get permits before you buy anything.
Buy your shipping container from a trusted seller.
Prepare your land for building.
Tip: Use open-concept layouts and large windows to make your home feel bigger and brighter.
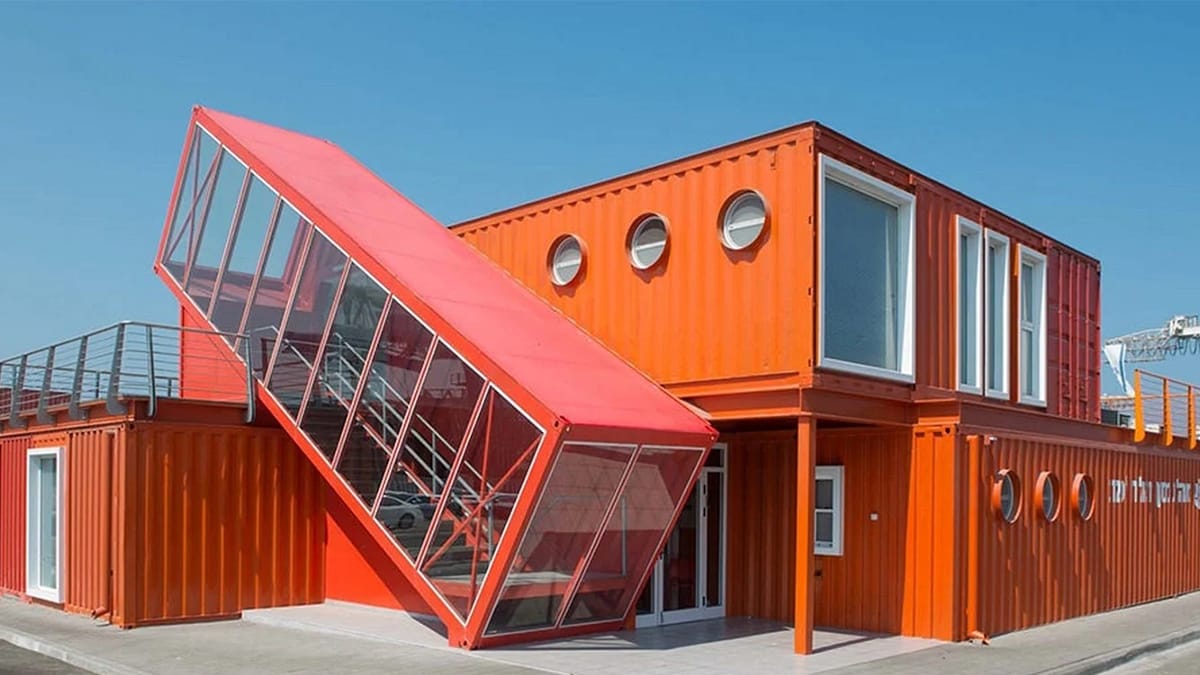
Modern shipping container home design ideas in 2024 focus on smart features and flexible spaces. Many people use technology like smart thermostats and security systems. Some stack containers or join them side by side for more room. Others add green roofs or solar panels for better energy use. You can even use bold colors or natural wood to make your home stand out.
Trend | Description |
|---|---|
Smart Container Solutions | Add smart tech for comfort and energy savings. |
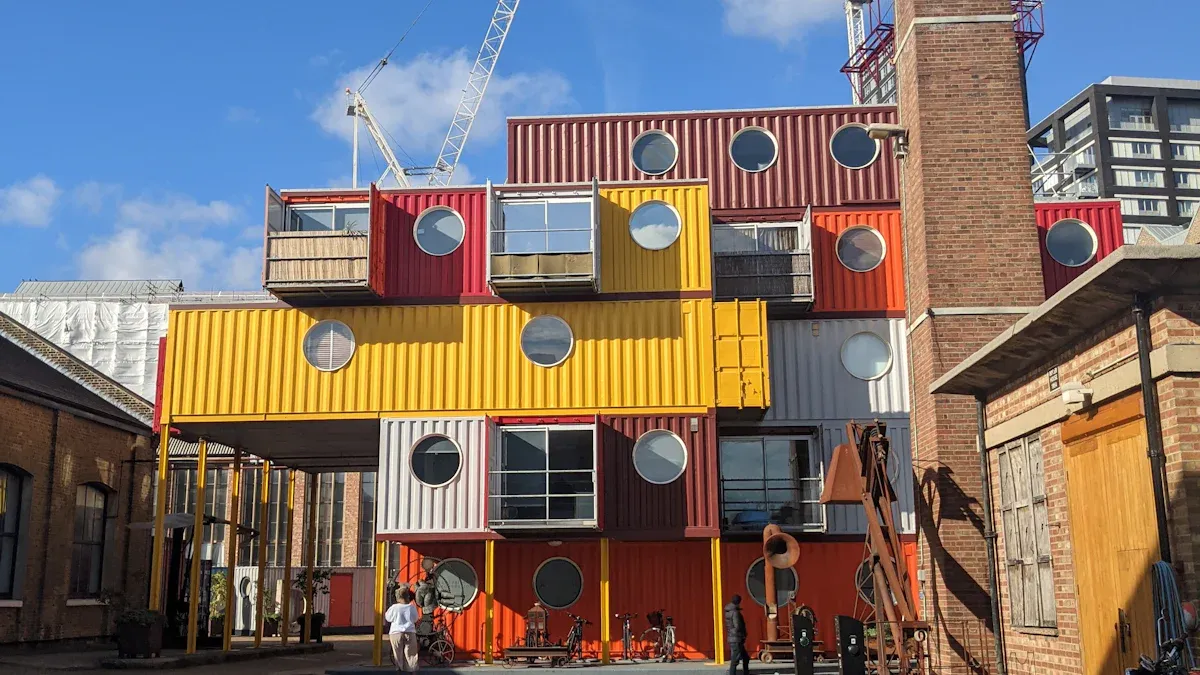
Multi-Container Structures | Stack or join containers for bigger spaces. |
Green Roofs & Sustainability | Use rooftop gardens and solar panels for eco-friendly living. |
Luxury Container Living | Choose high-end finishes for a modern look. |
Container Co-Working Spaces | Create work areas inside your home for remote jobs or hobbies. |
AR in Design | Try augmented reality tools to see your design before you build. |
You have many options for container home design. Take time to look at different shipping container home design ideas before you decide.
Permits and Codes
Before you start building, you need to check the rules in your area. Every city and state has different laws for shipping container homes. Some places make it easy, while others have strict rules.
Here are the main things you need to know:
Zoning regulations decide where you can build a shipping container home. Some areas only allow homes in certain zones.
Building codes set the safety standards for your home. These codes cover things like structure, plumbing, and electricity.
Building permits show that your plans meet all the rules. You must get permits before you start building.
Let’s look at how rules change in different states:
State | Building Code Requirements |
|---|---|
California | Needs a permanent foundation for stacked containers and must have utilities for living. |
Texas | Follows local zoning rules, including where you can place your home and how far it must be from the street. |
Florida | Must meet the Florida Building Code, which focuses on hurricane safety and strong design. |
Note: Always talk to your local building office before you buy a container. Rules can change from one city to the next.
If you skip this step, you might face delays or extra costs. Some people even have to move or tear down their homes if they don’t follow the rules. Take time to learn about permits and codes so your project goes smoothly.
Budget and Costs
Money matters a lot when you build a shipping container home. Costs can change based on what you want and where you live. Most people spend between $25,000 and $250,000 to build a shipping container home. If you want a simple DIY tiny house, you might spend as little as $25,000. If you want a luxury home with lots of features, you could pay up to $400,000.
Here’s what affects the price:
Number and size of containers
Delivery and setup
Site preparation and foundation
Labor costs
Custom features and finishes
Insulation and climate needs
Plumbing, electrical, and HVAC systems
Permits and inspections
You can expect to pay between $150 and $350 per square foot. Pre-built homes cost less, usually between $20,000 and $50,000. The average cost for most people is about $80,000.
Tip: Make a list of your must-haves and nice-to-haves. This helps you stay on budget and avoid spending on things you don’t need.
Building a shipping container home can save money compared to traditional homes, but you still need to plan carefully. Think about your needs, research prices, and get quotes from builders if you don’t want to do it all yourself.
Site Preparation and Foundation
 Secure and Level the Site
 Secure and Level the Site
Before you bring in your shipping container, you need to get your land ready. Start by walking around your site. Look for any slopes, soft spots, or places where water collects. You want a spot that stays dry and firm all year.
Here are some steps you should follow to prepare your site:
Check the ground for stability. If it feels soft, you may need to add gravel or dirt.
Level the area by filling in low spots and removing high spots.
Make sure water can drain away from where your home will sit.
If you skip this step, your container could sink or tilt over time. Always make sure your ground is solid and level before moving forward.
A well-prepared site helps keep your shipping container home safe and dry. Good drainage stops water from pooling under your home, which can cause rust or mold. Take your time with this step. It sets the stage for everything else.
Build the Foundation
Now you need to pick the right foundation for shipping container homes. Your choice depends on your budget, the ground, and how permanent you want your home to be.
Here are some common options:
Foundation Type | Description | Cost Estimate |
|---|---|---|
Railroad ties | Cheap and easy to move | |
Helical piers/screws | Good for most soils, semi-permanent | Less than concrete slab |
Concrete slab/piers | Strong and permanent | More expensive |
Crawl space | Great for cold areas, easy plumbing access | Varies |
Think about what works best for your land. Some people use simple gravel beds, while others pour a full concrete slab. Your county might have rules about what kind of foundation you need. Always check before you build.
Tip: A strong foundation keeps your home level and safe for years to come.
Container Delivery and Placement
Transport and Crane Placement
Getting your containers to your site is a big step. You want to make sure the delivery goes smoothly. First, check that your land is ready and clear of obstacles. The ground should be level and strong enough for heavy trucks.
Here’s a quick look at common delivery methods:
Delivery Method | Description |
|---|---|
Standard container delivery | Uses a regular truck, best for easy-to-reach sites with solid ground. |
Hi-Ab crane delivery | A truck with a crane for tight spots, lets you place the container exactly where you want. |
Sidelifter equipped delivery | Has hydraulic arms for unloading in small spaces. |
Specialized delivery | Uses special equipment for hard-to-reach places, but costs more. |
Customer collection | You pick up the container yourself, but you need the right gear and planning. |
Tip: Always make sure your driveway or access road is wide enough for a big truck.
Once your container arrives, you’ll need a crane to lift it onto the foundation. Small mobile cranes cost about $200 per day. Larger cranes with operators can run up to $1,000 per day. If you need a huge crane for a big project, it could cost $15,000 for a month. Most people only need a crane for a few hours, so plan ahead to save money.
Structural Modifications
After your container sits on the foundation, you can start making it feel like home. You’ll need to cut openings for doors and windows. Cutting metal weakens the container, so you must add reinforcements. For small cuts, you might not need much extra support. For big openings, add steel beams before you cut to keep the walls strong. Sometimes, you need temporary supports until everything is in place.
Here’s a table of common modifications:
Modification Type | Description |
|---|---|
Cutting and Welding | Make space for doors and windows, then reinforce edges to stop leaks and keep the structure safe. |
Roofing | Add a sloped roof with metal or shingles to protect from rain and snow. |
Insulation | Use spray foam, fiberglass, or foam boards to keep your home warm or cool. |
Windows and Doors | Install double-glazed windows and well-sealed doors for comfort and energy savings. |
Note: Always talk to a pro if you plan big changes. They can help you avoid costly mistakes.
With careful planning, you can turn a shipping container home into a cozy, modern space that fits your style.
Interior and Utilities
Insulation and Temperature Control
Insulating your container is one of the best ways to make your home comfortable all year. Good insulation keeps your space warm in winter and cool in summer. It also helps you save money on energy bills. If you live in a cold area, you have a few great options:
Foam board insulation gives you high insulating value. It is moisture-resistant and easy to install.
Spray foam insulation expands to fill every gap. It stops air leaks and adds strength to your walls.
Mineral wool insulation works well for fire safety and soundproofing.
You can also use Styrofoam panels or batt insulation. Each type helps your tiny home stay cozy and quiet. When you pick the right insulation, you use less energy for heating and cooling. Some studies show that good insulation and shading can cut energy use by up to 50%. That means lower bills and a greener home.
Tip: Always check which insulation works best for your climate before you start.
Electrical and Plumbing
You need a safe plan for your electrical and plumbing systems. Start by mapping out where you want outlets, switches, and lights. Next, finish the framing inside your shipping container home. Run all wires through metal or plastic conduit to protect them. Use the right size wire for your needs and connect everything to your main panel. For bathrooms, use GFCI outlets to prevent shocks.
Plumbing takes careful planning because of the metal walls. Lay out your pipes and vents before you close up the walls. Insulate pipes to stop them from freezing in cold weather. Always follow local codes to keep your home safe.
Note: Good planning now saves you from big problems later.
Interior Finishing
Now you can make your space look and feel like home. Drywall is a popular choice. It gives you a smooth, fire-resistant finish and helps with insulation. Plywood is stronger and lets you hang heavy things. If you want something easy to clean, fiberglass reinforced panels work well.
Material | Benefits |
|---|---|
Drywall | Smooth, cost-effective, fire-resistant, adds insulation |
Plywood | Strong, warm look, holds heavy items |
Fiberglass Reinforced Panels | Durable, waterproof, easy to clean |
Flooring and carpentry add the final touches. Many people choose wood or vinyl floors for a modern look. Custom finishes make your home unique and can even boost resale value, especially if buyers want eco-friendly homes.
Final Steps to Building a Shipping Container Home
Inspections and Compliance
 Inspections and Compliance
You are almost ready to enjoy your new home, but first, you need to pass a few important checks. Local inspectors will visit your site at different stages. They look at your foundation before you pour concrete. If your land sits in a flood zone, an engineer or architect must check the lowest floor. Inspectors also review your plumbing, electrical, and mechanical work before you cover the walls. They want to see fire-blocking and bracing in place. Sometimes, a third party checks your insulation and air barriers. Before you finish the walls, an inspector will look at the drywall nailing for fire safety. After you finish building, you need a final inspection.
To get your certificate of occupancy, follow these steps:
Talk to your local planning department and learn the rules.
Prepare detailed plans with help from an architect or engineer.
Submit your permit applications with all the right documents.
Make any changes the reviewers ask for.
Build your home and follow all codes.
Passing inspections keeps you safe and legal. You cannot move in until you get approval.
Furnishing and Move-In
Now comes the fun part—making your space feel like home! Start by letting in as much natural light as possible. Large windows or skylights make your rooms feel open and bright. Place bedrooms at the ends and keep shared spaces in the middle for better flow. Plan how you will use each area before you bring in furniture.
Try these tips to make your tiny home comfortable:
Use shelves or loft beds to take advantage of vertical space.
Pick furniture that does more than one job, like a sofa bed or a folding table.
Add built-in cabinets and drawers under beds for smart storage.
Keep the layout open to make your home feel bigger.
Mirrors and light-reflective materials help bounce sunlight around the room.
Moving in can bring a few surprises. Sometimes, local rules are confusing and cause delays. If you cut too much steel during construction, you may need extra support. Using the wrong insulation can make your home too hot or cold. Take your time and double-check each step.
Enjoy your new shipping container home! You worked hard to build a space that fits your life.
Building a shipping container home needs good planning and smart spending. You must also follow your local rules. You can pick from many design ideas. Using old containers helps the planet. Here is a quick table to compare:
Aspect | Container Homes | Traditional Homes |
|---|---|---|
Flexibility | High | Limited |
Insulation | Needs extra work | Usually better |
Approval Process | Can be tricky | Often strict |
You may want to ask an architect for advice. Before you begin, try these steps:
Make sure you can use containers.
Look at the setback rules.
Talk to your neighbors.
Start with a small plan, learn as much as you can, and have fun!
FAQ
How long does it take to build a shipping container home?
Most people finish a basic container home in 3 to 6 months. If you want a bigger or more custom home, it might take longer. Planning and getting permits can add extra time.
Can you build a container home anywhere?
You need to check local zoning laws first. Some places allow container homes, but others do not. Always ask your city or county office before you start. This step saves you time and money.
Are shipping container homes safe?
Yes, they are safe when you build them right. You must add insulation, strong doors, and windows. Always follow building codes. Many people use steel reinforcements for extra strength.
How do you stop a container home from getting too hot or cold?
Good insulation helps a lot. You can use spray foam, foam boards, or mineral wool. Adding windows and vents also helps control temperature. Shade from trees or awnings keeps your home cooler.
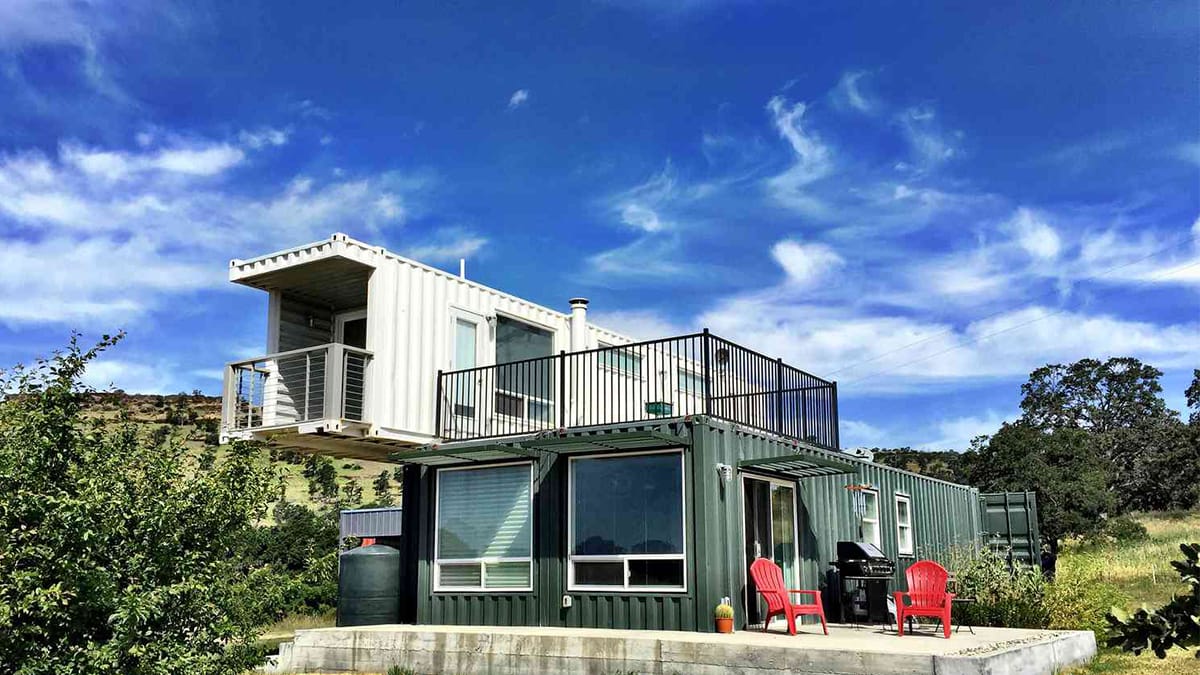
Can you stack shipping containers to make a two-story home?
Yes, you can stack containers for more space. You need a strong foundation and extra support between levels. Many people use cranes to place the top container. Always check with a builder or engineer.